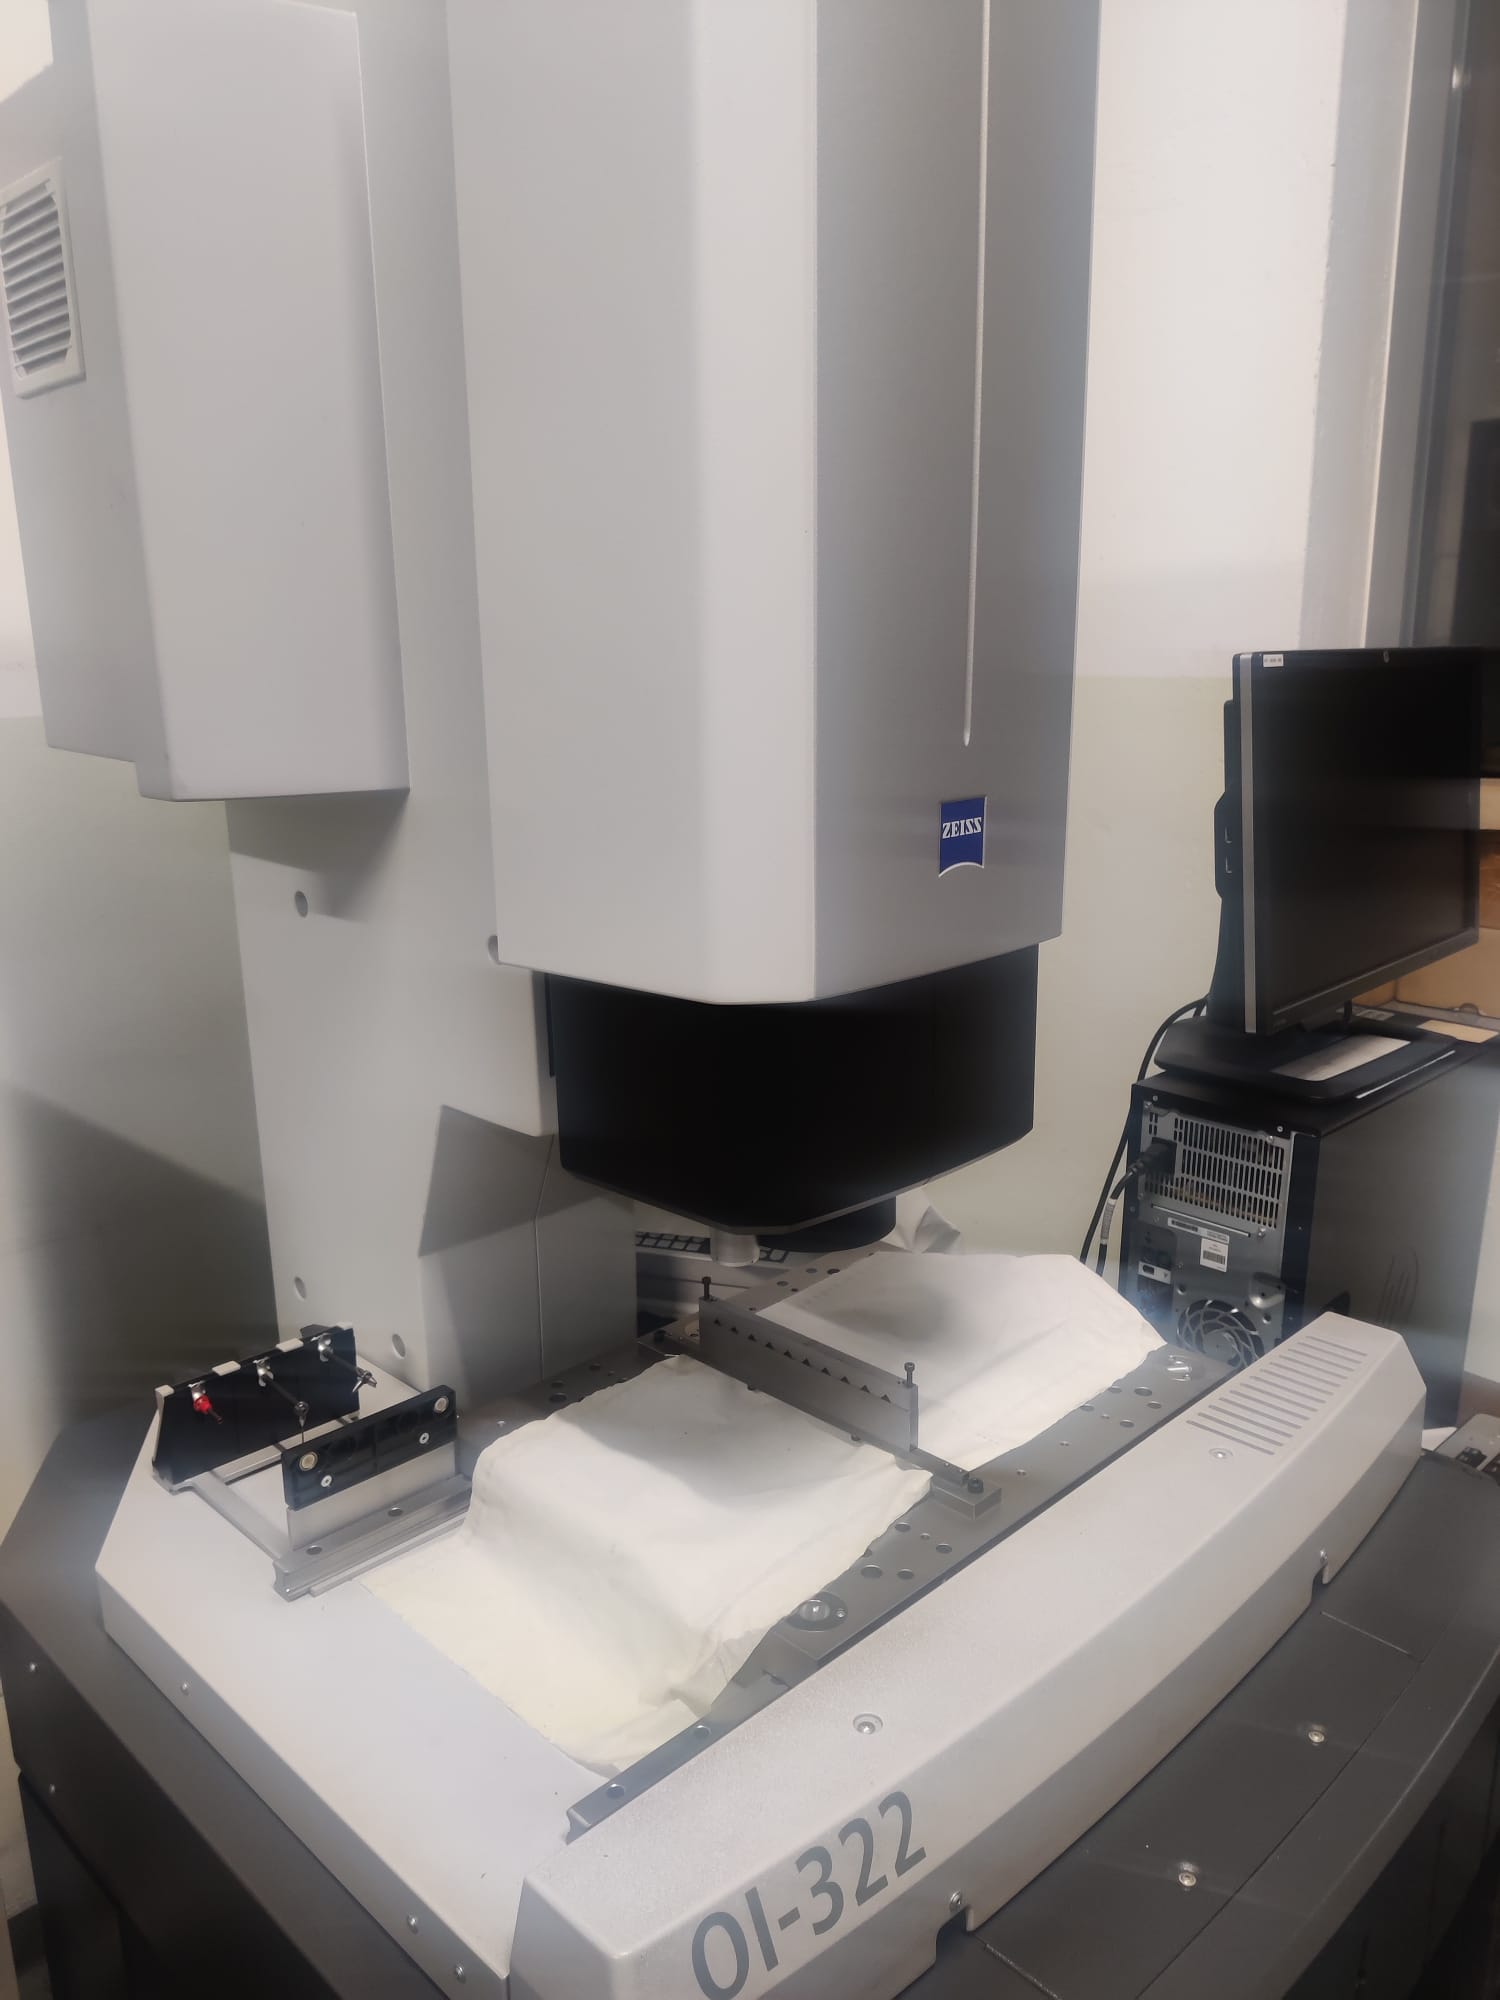
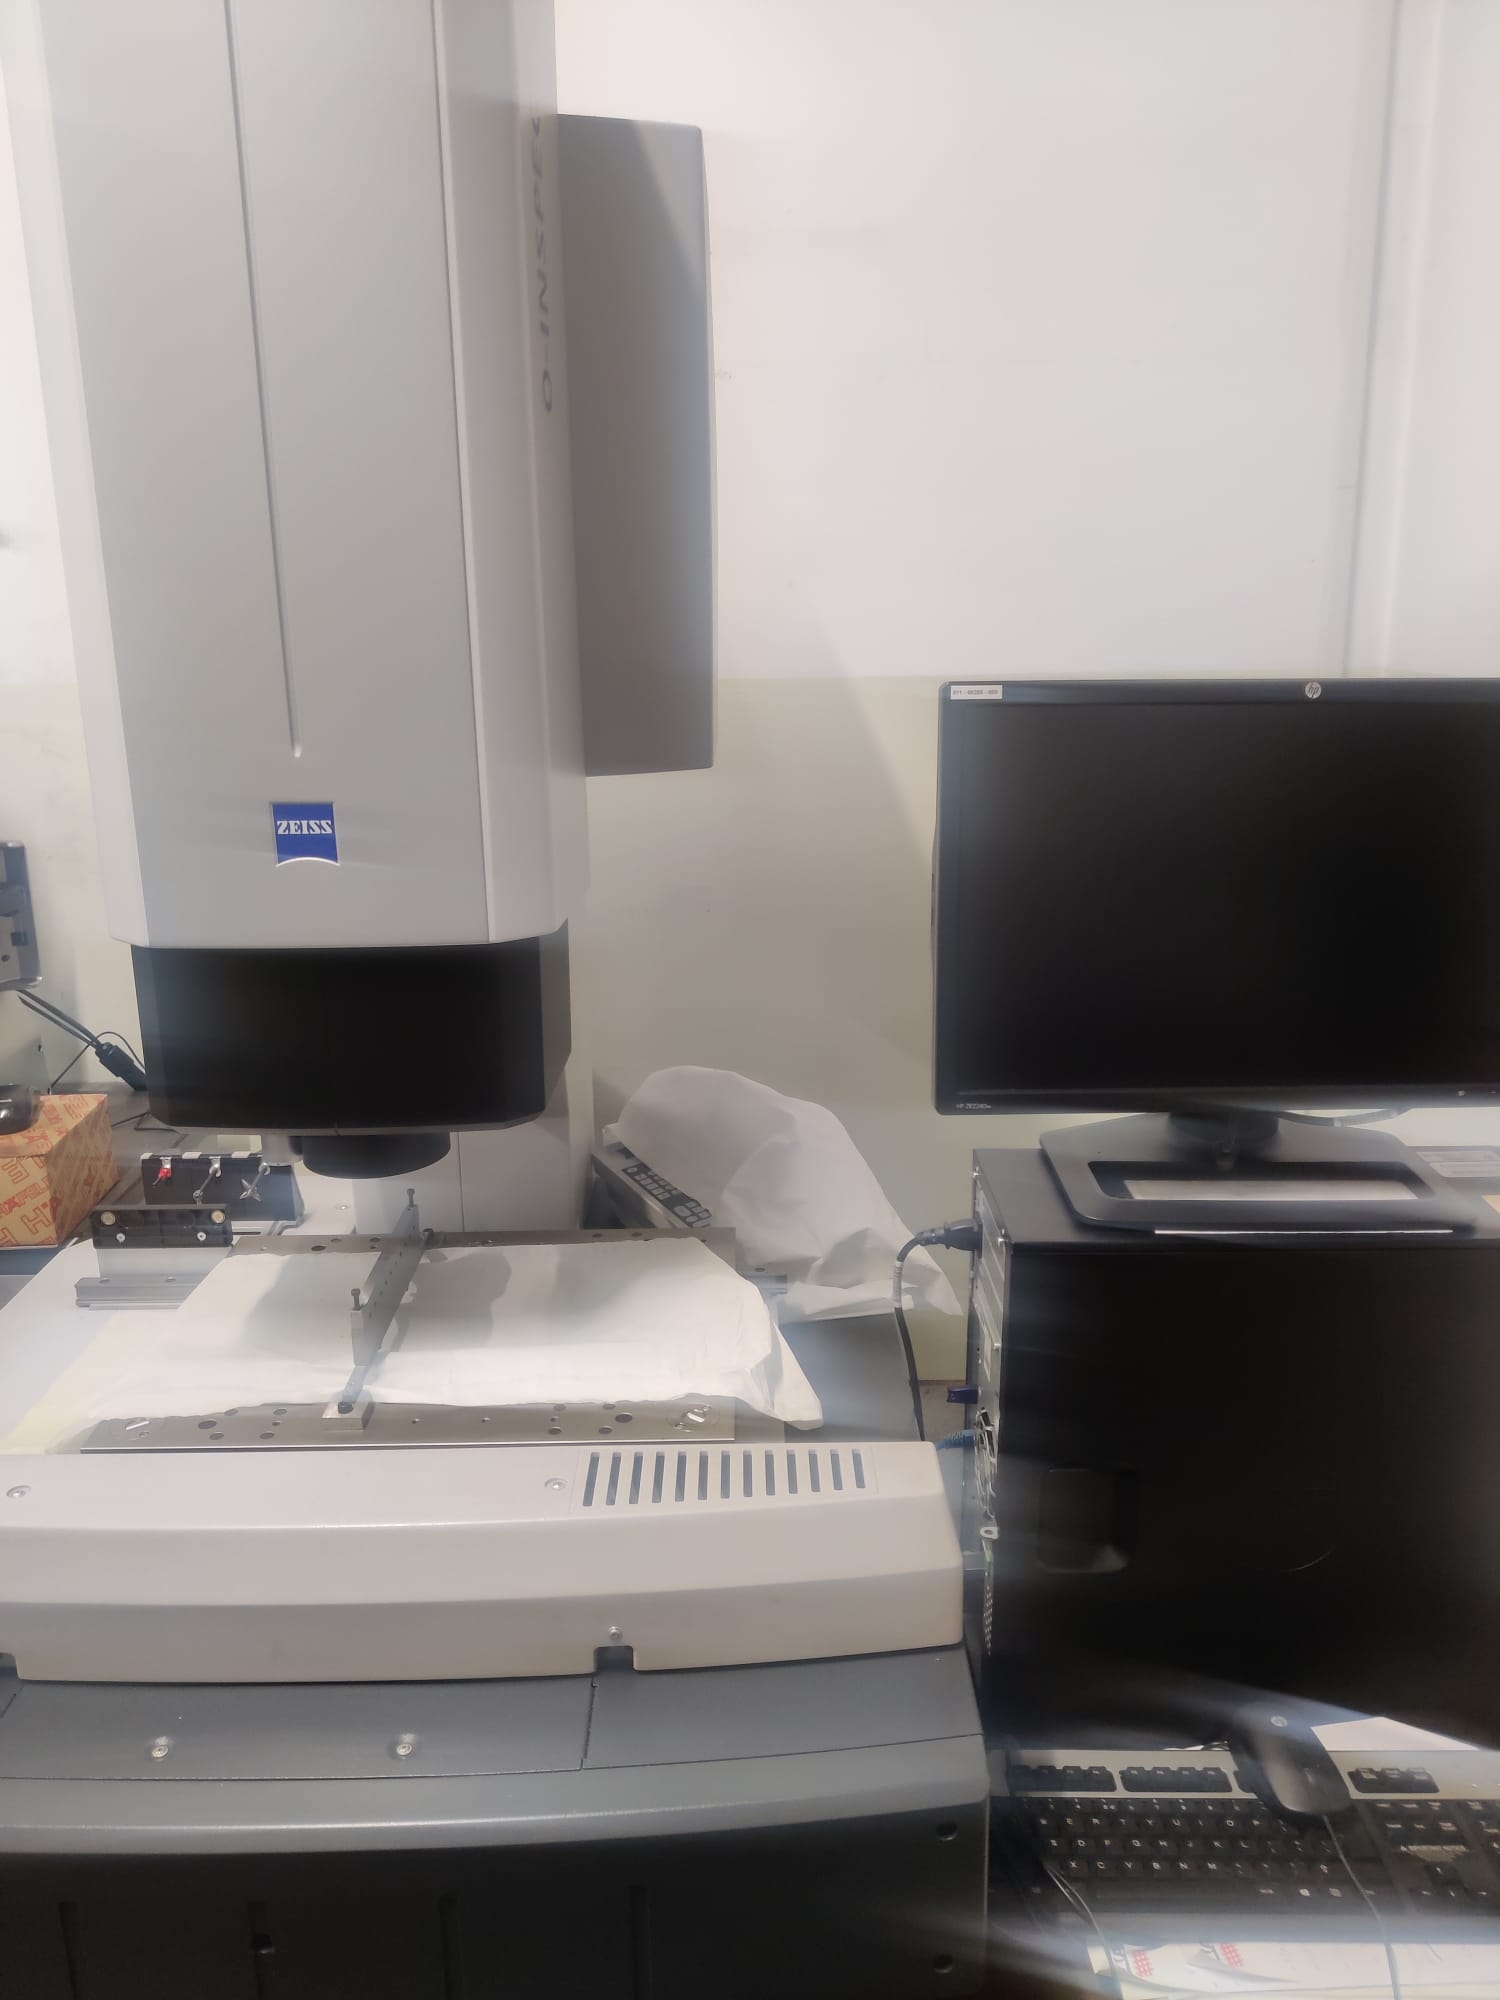
MEASURING ZEISS MOD. O-INSPECT 322
Metrology
09330
MACHINE TECHNICAL DATA
Useful measuring range:
X= 300mm, Y= 200mm, Z=200mm
Maximum Permitted Errors "MPE" (Max Permissible Error, according to standard 150 10360-2):
With Vast XXT contact probe
MPEE XN = 1.6 + L/150 pm (L In mm)
MPEE XY = 1,9 + U150 pm (L ih mm)
3D MPEE = 2.4 + U150 pm (L in mm)
MPE P (Measuring Head) 2.4 pmi
With Discovery zoom lens
MPEE 1D (OT) = 1.6 + U200 pm (L in mm)
MPEE 2D (OT) = 1.9 + U150 pm (L in mm)
Environmental conditions in which the Maximum Permitted Errors are guaranteed:
Temperature 18°...22°
Gradient hour 1°C/h
Gradient day 2°C/day
Gradient meter 1°C/m
Relative humidity 40% to 70%
Operating conditions:
Temperature from 17°C to 35°C
Machine loading:
Max piece weight 20 Kg
Maximum travel speed:
X/Y 300 mm/sec
Z 100 mm/sec
Accel. Vector 500 mm/sec2
OPERATING MACHINE CONFIGURATION
1) O-INSPECT 322 MACHINE:
"Microscope design" structure with 2D moving table
Table height without base approx. 300 mm
Optical scale resolution 0.2 pm
Integrated anti-vibration system
Standard control panel
Calibration ball dia. = 25mm
Calibration ring dia. = 16mm
Scanning-Control (ISC): management of "Discovery" optical sensor and contact measuring head
Vast xxt on a single software basis
Star probe kit TL1, 8 pcs. (code 626103-9031-000 for TL1)
2) SENSORS:
-Zeiss "Discovery" optical sensor with 12x zoom equiped with:
Integrated HD Camera
12x Zoom Zeiss Discovery
Ring in two-tone light (red/blue)
MiniRing in two-tone light (red/blue)
Coaxial light
Transmitted light
Calypso software option for image analysis
Optical measurement for elements: point, circle, ellipse, line, 2D profile
Analysis of the black and white image with dynamic procedure and automatic correlation of the adjustable illumination level
Possibility of point to point measurement and continuous scanning with optical sensor
-Vast xxt passive CONTINUOUS SCAN Zeiss measurement sensor for "Point to point" and "Continuous scan" measurements, complete with module for managing probes with length from 30 to 125 mm and plate with electromagnetic coupling
3) CALYPSO program:
Graphically developed CAD heart measuring program for measurements on prismatic workpieces.
Ease of use due to control plan based procedure.
Full graphical support for visualization of measurement strategies and input data.
Reduced use of the keyboard and low margin of error thanks to the automatic recognition of the measured elements and the automatic generation of CNC measuring programs.
Optimization of the measurement time thanks to the variable measurement plans, by selecting the elements involved in the cycle.
Variable presentation of results with easy integration of graphical parts.
Complete multimedia support, for example for illustrating workpiece fixtures and probe configurations for the start of the CNC cycle.
Possibility of importing 3D CAD drawings in SAT or SAB format for optimal graphic representation on screen and for off-line programming of CNC measuring cycles (optional CAD interfaces).
4) Dell Precision T 3500 WORKSTATION:
Intel Xeon Quad Core Processor W3530 (2.80GHz,4.83T/s,8MB,4C)
Operating System: Windows 7 Ultimate 64 bit MUI (Multilanguage)
Graphics Card: NVIDIA Quadro 2000, 1GB
RAM memory: 6 GB RAM 1333 MHz ECC—UDIMM
Additional network card : Gigabit Ethernet PCI-E 10/100/1000
Hard Disk: 2x500 GB SATA II, 7200 RPM ,RAID1, 8MB DataBurst Cache
DVD drive: 16XDVD +/- RW Combi drive
Mouse: Dell laser 6 Button USB Scroll Optical MOUSE
Keyboard: international in Italian language
Software package: Acronis True Image Home 2012 - Part number 494-892
Dongle: Part number 000000-0475-671
Monitor : Dell Led Professional 24" P2412H- Code 533-179
Printer: HP Officejet PRO 8100 mod. CM752A - Cod ce 543-968
USED MACHINE
YEAR 2013
FILL OUT OUR FORM FOR MORE INFORMATION
Potrebbero interessarti
Invia tramite e-mail
Scarica PDF
Enter your email address to receive a link to download the PDF
Per poter procedere, la prima volta devi inserire i Tuoi dati


 +39 (030) 2650161
 info@bentivoglio1919.it


